| |||||
|
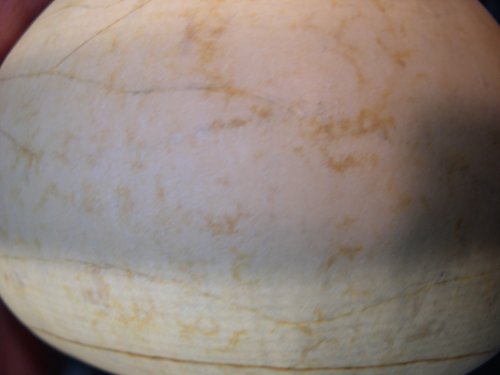
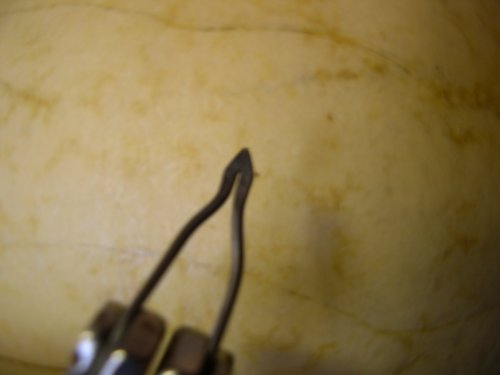
Gourd PyrographyColorado Trinket boxDay 1Using my Razertip woodburner set on about 4, and using a writing tip I lightly burn the pattern onto the gourd. I use
the
RAZERTIP DUAL BURNER W/ PEN
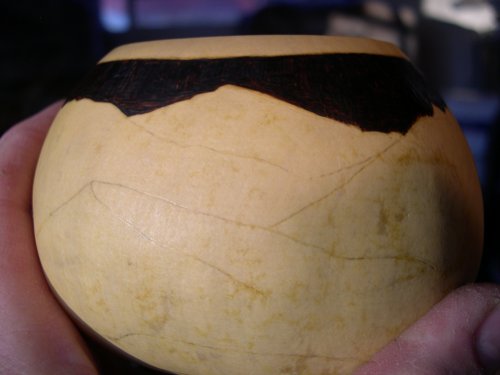
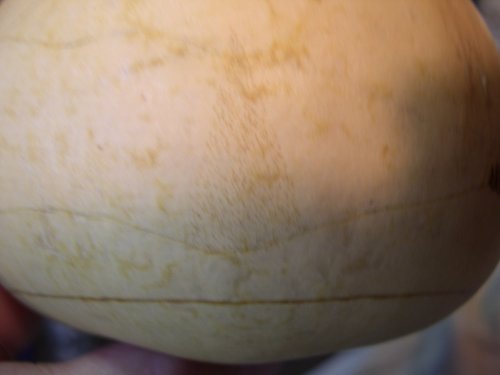
It is hard to see but about center on the left, arching upward and back near the center on the right you may be able to see a squiggly line. This line is just about opposite of the lightly burned line near the bottom, when the bottom line goes down, the squiglly line goes up. This is my perspective line of a patch of trees or forest that will be burned onto the gourd. The squiggly line is also still in pencil and will be removed after the forest is completed. Next step, and before I change my mind, I burn in the sky. Normally I might use a lighter burn for the sky, but one thing I really like about pyrography is the effect on the subject if the surrounding or background area's are darker, so I decided as an experiment to burn the sky in black. This will yield a greater contrast to the subject of the gourd, which is the mountains and scenery. I will probably paint the bottom of the bowl completely black also, once the woodburning is completed:
You can see already that the mountains practically stand out from the background. I'm hoping this works the way I want it to. I did this with a medium shader, and the temp set on about 7 - 7 1/2. I don't like burning this hot and covering this much territory because of the smoke and the smell. When you burn hard like this, be sure to have ventilation with a fan or fume hood pulling the smoke away from you as burning gourds as well as burning wood is hazardous to your lungs. The next item I'm going to burn is going to be my forest, it isn't the foreground, but it isn't in the back either, but I feel as
though it will give me a starting place. This will be a forest of pine trees, and looking at pine tree's from a distance, you don't really
see the pine needles, but they give off a soft look. This look is very similar to the Koala Bear fur illustrated in the
Pyrography Workbook
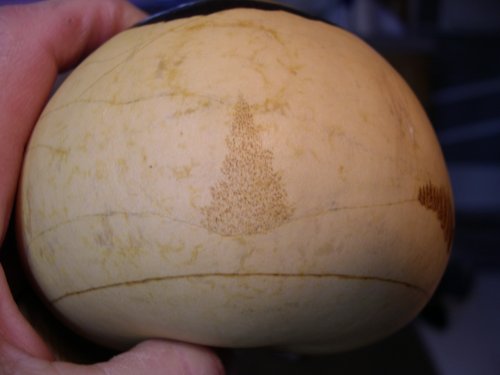
Setting the correct temperature for this proceedure is critical. I started off at 7, but you may want to experiment because a lot depends on your burner, your tip, and how fast you touch the tip to the gourd. I tap the tip on the gourd about as fast as I can and still maintain control of the area in which I'm tapping, and you do not want to just tap in rows or lines, but as you get to the wiser area of the tree, you want to travel somewhat randomely, yet within the border of the tree itself. While I like the Christmas tree look, remember that trees are not perfect in their shape, some branches hand out a little more than they should, they are not evenly spaced, so you don't have to try to make a perfect triangle, you can be off and the results will be right on. Begin by burning very lightly, this may sound tedious, but when you get the hang of it you'll be burning the forest rather quickly. By burning lightly at first, you create a background for the darker burns on the next pass:
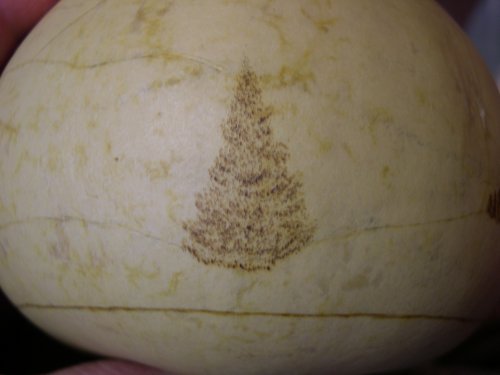
The picture is a little blurry because I did this close up in room lighting only, (no flash), and the shutter speed was about 1/4 second. Next, without turning the temp up on the pen, I started taping the gourd again, this time putting a little more body into the tree:
As you can see, the tree is now beginning to take on the appearance of a pine tree, and you can see what I mean about not being a perfect triangle. When you look at natural pine tree's, you expect to see some branches sticking out as the do in this image. Now, looking at what the tree is starting to look like, I can see where the pine branches are naturally, (without even trying to create branches), and again if you look at tree's in the sunlight, the bottoms of the branch clumps are shaded, (which means darker color in pyrography), so I turn the heat up just a little, and begin tapping in a little more controlled manner, roughly trying to darken the area's under the branches I see:
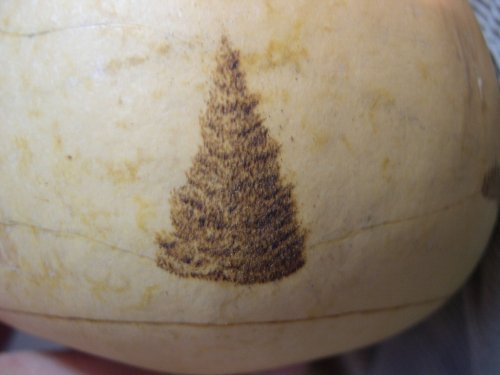
Now we have what is appearing to look more like a pine tree, complete with branches. Next, again without turning up the heat, (I started the tree on 7 and underlined the branches on 7.5 where it will now remain), we need to create a sunny side and shady side of the tree. This will serve a valuable purpose later when creating the forest, not to mention giving a feel of depth and lighting. I will also in this step, highlight the branches a little more by darkening the shadows of the branches, and in a few area's I will even add a little more to the lighter portion of the branches:
This tree is one of the closest trees in the forest, and for this reason a little more detail and a little more darkness and depth are applied to it. As the tree's get further away, they will be a little less detailed and slightly lighter in shade. This same rule applies to the mountains, as they get furhter away, they will be a little lighter and a little less detailed. I hope to add to this every day, but sometimes life gets in the way of accomplishing our goals, but check in again tomorrow to see the next phase, tree #2 and completion of the forest. |
|
Gourds TGR Associate Store Educational YouTube Videos Galleries Products Web Hosting Electronic Sales TGR Shopping Mall Shop by category
Website updated in whole or in part daily
© 2003 The Gourd Reserve ™
Daily Sales Online / Everything Makes Scents / The Joy of Hope Foundation / Music and the Arts / Carmellas Place / Danos Place / Family Friendly Forums / The Dunkin Academy
Web Design by Dan Dunkin

