| |||||
|
Gourd Hand PollinationIntroduction: Keeping purity in a gourd variety is vital, unless you want to grow surprises. Though the process is simple, many do not protect the integrity of the pollinated flower. Here you will learn of 3 different ways to accomplish purity of your seed gourd varieties through hand pollination. We have used this technique in excess of 10 years with 100% success.
As we have searched the world, and continue to search, we have discovered multiple ways to do many things with a gourd. One of the items in which we have found variations is the hand pollination technique. The most popular method by American growers is the use of a soft paint brush to collect pollen from the male, then to gently brush this pollen onto the female. If you view our method below, you will see our method is much different from the brush technique. We prefer this method because with a little practice, it is easier for us to get a good coating of male pollen over a wider area of the female stamen, no need for brushes, and no change of cross contamination between brushes and a secure way to protect your gourd variety.. There is yet another technique which involves literally removing all the protection around the stamen of both the male and female, and actually bringing the two together and applying the pollen directly to the female stamen from the male through direct contact. See the link above from our Gourd friends in Japan. Success rate is another reason we prefer this method, using the brush, we sometimes either misjudge the amount of pollen we are getting on the female, or we just aren't getting quite enough, or perhaps even the female stamen gets damaged in the process, and the results are, the female does not mature. Using our method, we have almost a 100% success ratio of pollination, with the exception of the first fruits of the year. For some reason, the very first fruit put off by the plant many times does not pollinate, perhaps this is due to the vine being not quite ready yet to produce. Another advantage to the technique we use below is in protecting the purity of the seeds in the gourd you are pollinating. In using a brush, if you are trying to maintain a pure seed, then a new or different brush must be used when pollinating a different type of gourd, if you pollinate several different types, then of course you need several different brushes, and the more brushes you have, the greater the chance that at some point an adulterated brush may be picked up unknowingly, and the purity of your seed will be contaminated with cross pollination. This method also eases the intentional cross pollination with the goal of developing a specific shape and size gourd. Although the process we show below was specifically for maintaining the purity of the seeds, the same process can be applied to day to day pollination without the need of tying off the flowers and tagging them. Those steps are only for the purpose of protecting the genetics of the gourd for it's future seed. We know the method works, as we grow our gourds from seed pollinated the year before, and we get the same gourds from which we get our seed.
Gourd Pollination TutorialStep by Step Technique
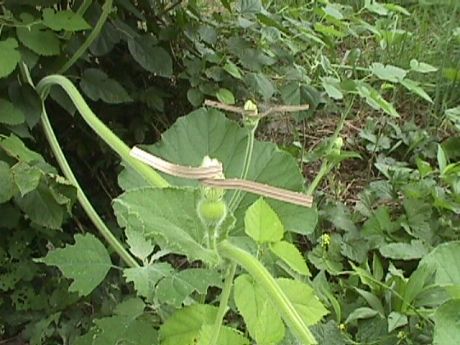
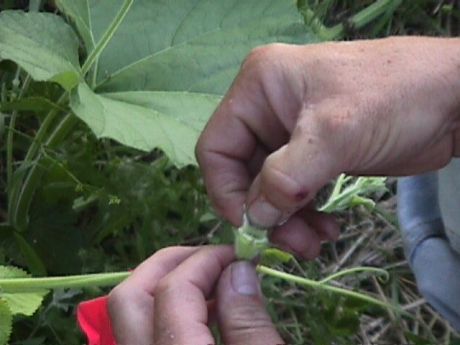
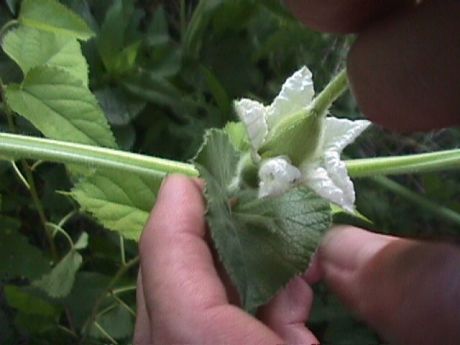
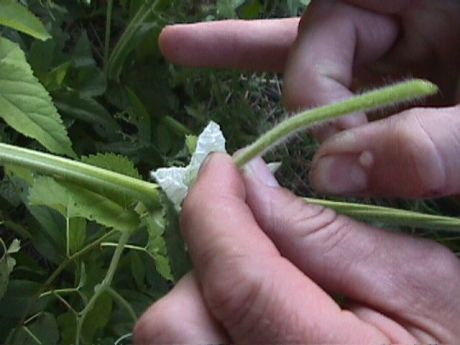
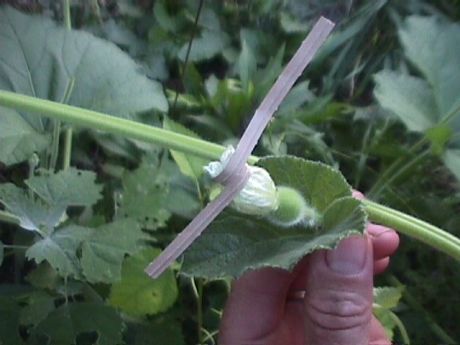
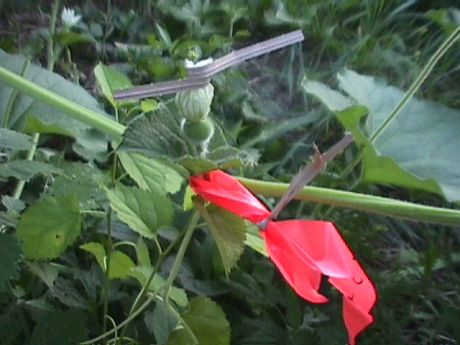
Early in the day long before evening, (normally around noon - 3:00), both a male and female flower which are maturing to open that same evening, are selected and gently tied off so they can not open to insects which might adulterate their purity.
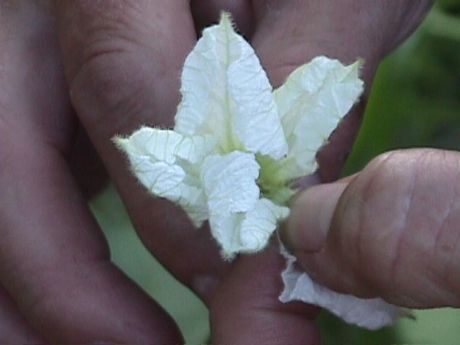
At dusk, or early in the evening, the male flower is removed from the vine and untied, we gently peel back the flower petals and pinch the petals off at the base to expose the open cone and male stamen.
|
Gourds>Educational>Hand Pollination
|
Gourds TGR Associate Store Educational YouTube Videos Galleries Products Web Hosting Electronic Sales TGR Shopping Mall Shop by category
Website updated in whole or in part daily
© 2003 The Gourd Reserve ™
Daily Sales Online / Everything Makes Scents / The Joy of Hope Foundation / Music and the Arts / Carmellas Place / Danos Place / Family Friendly Forums / The Dunkin Academy
Web Design by Dan Dunkin

