| |||||
|
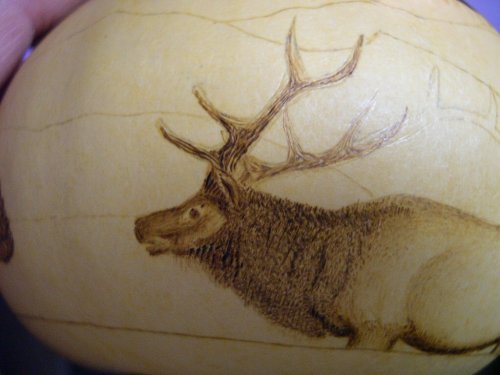
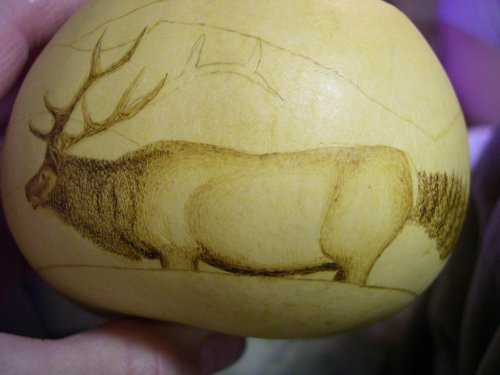
Gourd PyrographyColorado Trinket boxDay 3Yesterday I burned the forest and began on the elk by roughing in his main and highlighted the outline of his body. Please take note on this project, I've never done a mountain scenery before, nor have I ever tried to do animals to any detail, so this is a new venture for me and this whole project will challenge my abilities. in fact, I have already done some things I would have done differently, for instance I cannot build or burn anything in front of the forest I have created, fortunately, there are lots of bare ground areas here in Colorado with little or no growth on them so I think we'll be OK and be able to put something in the foreground without conflicting with the forest. For the elk, I continued stippling around the neck area to slowly darken it until I was satisfied with the tone & saturation. I'm still using the chisel tip, and have used it also to do the head, (face) of the elk as well as the body. On the face I have turned the heat down to around 5 which is a big difference from the 7 to 7.5 I've used up to this point, but I like to create my shading and color changes gradually. This way if I do make a mistake, I can easily shade it in, also with a high temperature setting, if your tip burns a dark spot where you are trying to shade or shape the figure, it is harder to correct. once I have the face darkened to match somewhat closely to the picture I'm using to capture the features, I begin the antlers. For the antlers I turn the temp up to about 6 so I can draw darker lines, but it requires a slow hand for darkness. Now, still using the chisel tip, I turn the tip so I am using it more like a skew, (a knife edge), so I can burn the deep grain lines seen in most antlers.
Notice again, as with the tree's and distance, even though the distance is not so great here, the antler closer to the front is darker and the antler closer to the back is a little lighter. This is for two reasons, depth and the one closest to the front you are seeing more of the bottom side, or the unlit sunny side as opposed to the one furthest away. You can also see the mane has been darkened and a little more time taken to capture folds or parts in the mane itself. You will also notice in this picture and in the picture of his full body that I had outlined a much larger antler, but because I did not feel comfortable in making it look more realistic, I chose to shorten the antlers a bit, especially on the far side. The roughed in lines will be eliminated as I do the mountains in the background behind that outline. Next I used the same chisel, and laying it flat but using the point of it, and with the heat back down on 5, I slowly shape the contour of the body by shading that which curves away from us and leaving light the area's that are more direct to our view. with the exception that the back is not darkened as much as I normally would due to the placement of our sun, but still shaded enough to show the contour.
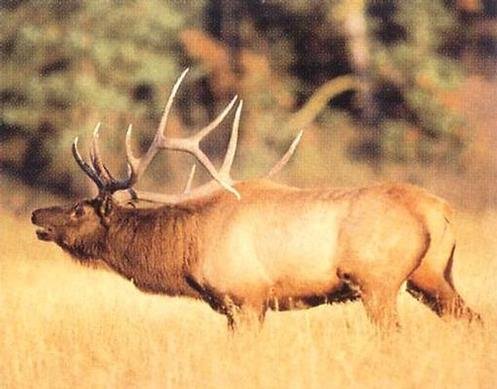
For reference, here is the image of the elk I used for this project. I chose not to arch his head quite as much as in bellowing, and for simplicity, (shame on me), I cast him as standing so both legs on the far side are not in the equation. Remember, I also shortened his antlers a bit.
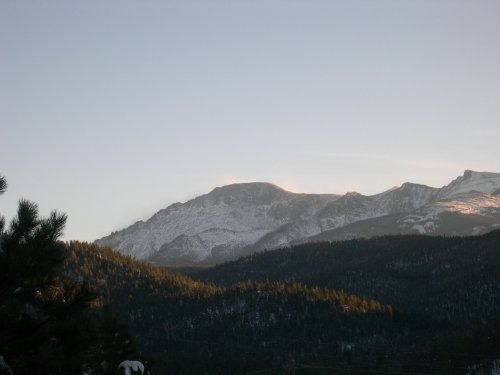
The next step was to work some of the distant mountains. The reason I'm choosing them next is because I will use the sharp chisel point again to slowly bring in a little detail to the mountains shape by turning the heat down and slowly darkening until a little more than faint detail is visible. Before looking at that, here is a picture of a typical day looking at the mountains:
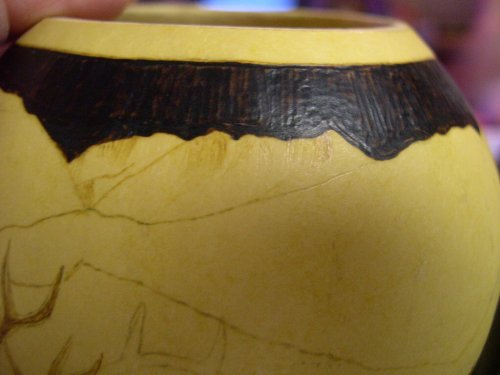
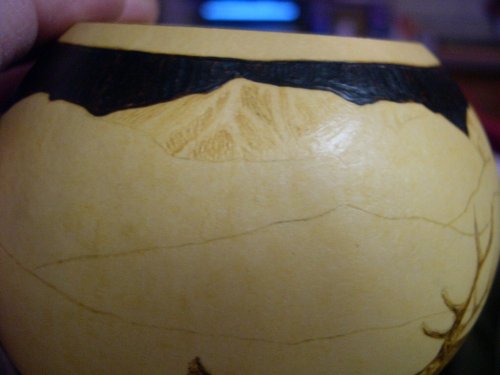
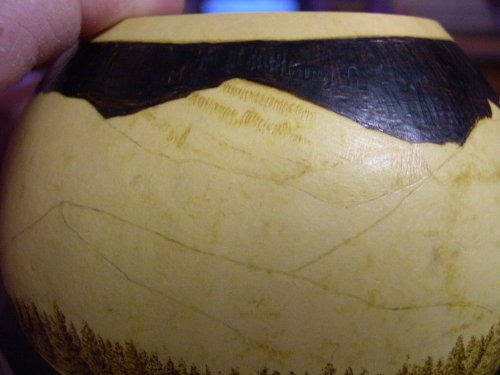
Look closely at the picture as far as saturation and detail are concerned. There is a pine branch close to the camera, it is very dark and you can see the needles on it. Next are the hills or small mountains in the foreground, the one on the left is a little closer, but it has a little haze over it, but not like the pine branch. The hill on the right has just a little more haze, and the tree's are less defined. Finally the snow capped mountains in the far background have even more haze to them making the coloration lighter, the tree's that grow near the bottom of what you can see have almost no detail whatsoever, it is just a darker area, but not as dark as the mountains closer in. This is what I',m going to try to capture on my gourd, only maybe a little more exagerated. I have three background, distant mountain peaks in my layout, each one I've chosen to do a little differently. I have kept these quite light because until I have the whole image layed out I want to be able to adjust. I also kept it much lighter because I want to create an illusion that these mountains are even more distant than the one shown in the picture above, (the picture above is Pikes Peak as seen from where we live). Anyway, here are the three pictures of the three seperate distant mountains:
This will be my last update until at least Nov 3rd. It is imparative that I build my website, Daily Sales Online, if it were not for that website, this website probably wouldn't be here either because we could not afford to continue hosting it. It is our bread and butter, as little as it may be. however, hopefully by the third of the month I will be caught up enough or finished with it so I can continue. Please keep in mind, I'm not a great artist, and I don't know what I'm doing, so if this doesn't work for you, don't blame me, LOL... |
|
Gourds TGR Associate Store Educational YouTube Videos Galleries Products Web Hosting Electronic Sales TGR Shopping Mall Shop by category
Website updated in whole or in part daily
© 2003 The Gourd Reserve ™
Daily Sales Online / Everything Makes Scents / The Joy of Hope Foundation / Music and the Arts / Carmellas Place / Danos Place / Family Friendly Forums / The Dunkin Academy
Web Design by Dan Dunkin

